Quick Start Guide
Prerequisites: Before you begin, ensure that you have a Code Editor (such as VS Code (opens in a new tab)), the latest version of Node.js (opens in a new tab), and a package manager (PNPM (opens in a new tab)) installed on your computer. If you do not have these installed, please install them.
Note: If you are not familiar with coding, version control (GitHub), or hosting, please contact our support team at support@jstemplate.net. We will assist you.
1. Download the Theme
-
Download the theme from CodeCanyon (opens in a new tab)
-
Extract the zip file to your computer.
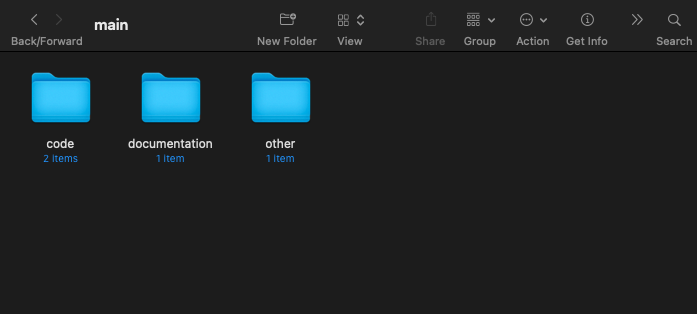
The code/metaads folder contains both backend and frontend code. Backend code resides in apps/backend and frontend code in apps/site.
The documentation folder holds offline theme documentation. To view, open "index.html" in your browser.
The other folder contains MongoDB database collections. Import the database dump as dummy data into your MongoDB database.
2. Open Project in Code Editor
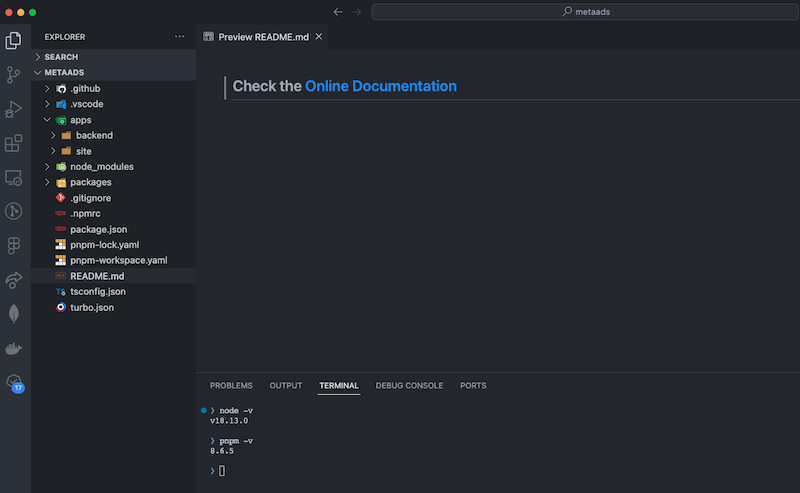
Now, open the metaads folder in your code editor and launch the terminal.
Check your Node.js version with the command node -v and npm version with pnpm -v in the terminal.
3. Install Dependencies
To install dependencies, run the following command in the terminal from the root of the project:
pnpm install4. Start the Backend Server
To start the backend server in development mode, run the following command from project root:
pnpm -F backend devPrerequisites: Before you begin, ensure that you have created .env file within apps/backend folder . If you do not have this .env file, create it and add the following environment variables.
## Warning: Make sure you generate new keys before you deploy your application
# make sure you added all the env variables to your .env file
# Step 1: Generate new keys: https://travistidwell.com/jsencrypt/demo/
# Step2:  Base64 encode the keys: https://www.base64encode.org/ from here
# Step3: add PUBLIC_KEY and PRIVATE_KEY here
# Step4: add the base64 encoded keys to the .env file

PUBLIC_KEY=""
PRIVATE_KEY=""

# MongoDB URI- Create mongodb account and add the mongodb uri here
MONGODB_URI=""


# To integrate Cloudinary services, follow these steps:
# -Obtain Cloudinary API Key, API Secret, and Cloud Name
# - Retrieve your API Key, API Secret, and Cloud Name from the dashboard.
# Add Credentials here

CLOUDINARY_API_KEY=""
CLOUDINARY_API_SECRET=""
CLOUDINARY_CLOUD_NAME=""

# To integrate NodeMailer services, follow these steps:
# -Get config of your sender Email, Password, Host, and Port

NODEMAILER_EMAIL=''
NODEMAILER_PASSWORD=''
NODEMAILER_HOST=''
NODEMAILER_PORT=

ADMIN_CONTACT_EMAIL ='info@example.com'
NODE_DOCKER_PORT=1337
To Build the backend server run the following command from project root:
pnpm -F backend buildTo Start the backend server in production mode, run the following command from project root:
pnpm -F backend startSite will be available on port 1337. browser http://localhost:1337 (opens in a new tab)
5. Start the Frontend Server
Prerequisites: Before you begin, ensure that you have created .env file within apps/site folder . If you do not have this .env file, create it and add the following environment variables. Make sure your backend server is running on port 1337.
# Your backend server url
NEXT_PUBLIC_API_ENDPOINT="http://localhost:1337/api/v1"
To start the frontend server in development mode, run the following command from project root:
pnpm -F site devTo Build the frontend server run the following command from project root:
pnpm -F site buildTo Start the frontend server in production mode, run the following command from project root:
pnpm -F site startSite will be available on port 3000. browser http://localhost:3000 (opens in a new tab)
Congratulations! You have successfully installed the theme. Now, you can start customizing the theme.